The bathroom installation process, in order
A bathroom looks like one job, but it’s really a dozen smaller jobs that have to happen in the right sequence — and that order is what separates a bathroom that lasts twenty years from one that goes wrong in two. This guide walks you through exactly how a full bathroom installation runs from the first survey to the final clean, step by step, so you can picture each day before it happens. No mystery, no jargon dumps — just the honest running order we follow on every job across Plymouth, Plympton and Plymstock.
Why the order matters more than anything else
Most homeowners worry about the wrong thing. They agonise over tile colours and tap finishes — which are worth getting right — but the choices that actually decide whether a bathroom survives are invisible once the room is finished. They’re about sequence. Waterproofing has to go on before tiling. First-fix plumbing has to be set out before the walls are boarded. The subfloor has to be sound before anything is built on top of it. Get the order wrong, or skip a stage to save a day, and the failure shows up later — as a cracked tile, a patch of black mould, or water tracking quietly into the floor below.
That’s why a proper installation isn’t a scramble of trades turning up when they can. It’s a disciplined run of stages, each finished and checked before the next begins. When we quote a job, we’re quoting that whole sequence — done in the right order, at the right pace, by one team who knows where the job is at every day. It’s the same reason a bathroom renovation that reconfigures the layout takes longer than a like-for-like swap: more of the hidden stages come into play.
There’s a second reason the sequence matters: money. A fitter who works out of order almost always ends up redoing something — lifting tiles to reach a pipe that should have been set out first, or chasing a wall that was already boarded. Every one of those do-overs is time you pay for. A clean, ordered run isn’t just a tidier job; it’s a cheaper one, which is part of why we can put the whole thing on one fixed price rather than an open-ended day rate that quietly climbs.
Below is the full running order. A typical bathroom moves through all of these in 7–10 working days, though the exact split shifts with the size of the room and how much you’re changing. We’ve kept each stage in plain English, with a note on what’s actually happening and why it can’t be rushed.
The step-by-step process
Here’s every stage of a full bathroom installation, in the order we carry it out. Some overlap slightly on site — the plumber and electrician often first-fix on the same days — but the sequence of dependencies never changes: the hidden work comes first, the visible finish comes last, and nothing gets built on top of something that isn’t ready for it.
You don’t have to project-manage any of this. One point of contact owns the whole run and keeps you posted daily. But knowing the order helps you understand your quote, spot a corner-cutting fitter, and picture your own week.
Step 1 — Survey, design & fixed quote
Before anything is ordered, we visit and measure up properly. We check the floor, the existing pipework, the soil stack and your water pressure, and talk through how you want the room to work. You get one clear, itemised written quote — fixed, not a drifting day rate. If something behind the walls might add cost, we flag it now, not halfway through. This is also when the layout, suite, tiles and finishes are settled and every part is ordered, so the fitting week never stalls waiting on a delivery.
Step 2 — Strip-out & disposal
Day one on site, the old bathroom comes out: suite, tiling, flooring, the lot. We protect the access route in and out, and clear the waste as we go rather than leaving it piled up. With everything exposed we get our first proper look at the subfloor, walls and pipework — and if there’s rot, damp or a failing waste run hiding under the old room, this is where we find it and put it right before building anything new.
Step 3 — First-fix plumbing & electrics
The hidden skeleton of the room. New hot and cold feeds, waste runs set to the right falls, the soil connection and the shower-valve back-plate are all run and set out. Alongside, the wiring for lights, the extractor, underfloor heating, the shaver point and any electric shower is chased in. Get this stage right and everything after it is straightforward. Our guide to first-fix plumbing covers exactly what happens behind the walls.
Step 4 — Boarding & waterproofing
Walls and floors are boarded out with moisture-resistant or tile-backer board in the wet areas, and the shower zone is tanked with a proper waterproof membrane before a single tile goes on. This is the quiet, unglamorous stage that decides whether the room lasts — because tiles and grout are not waterproof on their own. See bathroom boarding & waterproofing for how tanking actually works.
Step 5 — Tiling
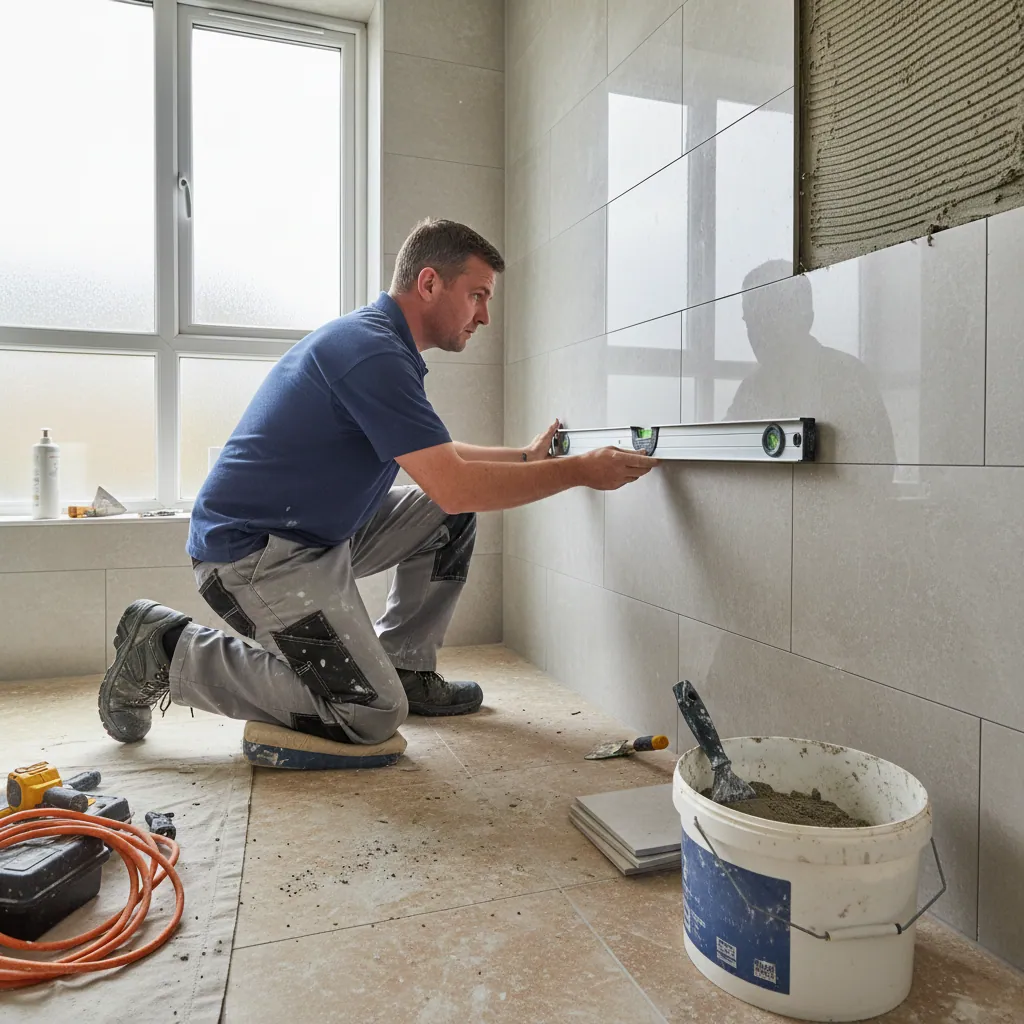
Floor and walls are tiled with the right adhesive and grout for a bathroom, set out so cuts fall in sensible places and lines stay true across the room. Tiling needs time to set before anything is hung on it or fitted against it, so this stage is paced rather than rushed. It’s where the bulk of the visible craft happens, and where a good fitter earns their keep on the awkward cuts around pipes and corners.
Step 6 — Second-fix & suite install
The room comes to life. Bath, basin, WC, vanity, shower valve and head, screen, taps, towel rail, lights and extractor are all fitted and connected. Each piece is checked for fit and function as it goes in. This is the stage most people picture as “fitting the bathroom”, but it only goes smoothly because the five stages before it were done properly — read more on second-fix suite installation.
Step 7 — Electrical testing & certification
All the electrical work is tested and certified to the current wiring regulations under Part P of the Building Regulations — the right IP-rated fittings in each zone, RCD protection, and correctly rated cable for the shower or underfloor heating. You’re handed the certificate as proof the room is safe and signed off. Our page on bathroom electrics & Part P certification explains the zones in detail.
Step 8 — Sealing, snagging & hand-over
We silicone every movement joint with quality sanitary sealant, run each tap, the shower and the WC, and walk the finished room with you to snag anything that needs a tweak. Then a final clean, your care notes, and your written workmanship guarantee. You’re handed a finished bathroom — not a list of jobs still to do.
Throughout every stage you deal with one project manager who knows your job inside out. Ask one person, get a straight answer — no runaround between a plumber, a tiler and a sparky who’ve never met.
How the days usually fall
People always want to know which days are which, so here’s the honest rhythm of a typical 7–10 day job. The range is real: a like-for-like swap in a small Plymouth bathroom runs to the quicker end, while a bigger room with a moved layout, premium tiling and proper curing time for adhesives and waterproofing runs to the longer end. You can’t rush the bits that need to set, and a fitter who promises to “have it done in three days” is usually skipping one of the stages above.
Days 1–2: strip-out & first fix
Old room out, subfloor and walls checked, remedial work done, then feeds, wastes, the soil connection and wiring set out. The messiest, noisiest phase — and the most important to get right.
Days 3–4: boarding & waterproofing
Walls and floors boarded, wet areas tanked, everything made ready for tiling. Quiet work, no drama — but the foundation of a bathroom that stays dry inside its walls.
Days 5–7: tiling
Floor and walls tiled and grouted, set out so lines and cuts sit right. Paced to let adhesive and grout cure before second fix leans on them.
Days 8–10: second fix, test & hand-over
Suite, shower, screen, vanity and fittings installed, electrics tested and certified, joints sealed, room snagged with you, final clean, guarantee handed over.
What can change the running order
The sequence above is the backbone of every job, but a few things flex it. Knowing them helps you read your own quote and understand why one bathroom takes longer than another two streets away.
Moving the plumbing
Shifting the WC, bath or basin to a new position adds a whole layer of first-fix work — new waste runs at the right fall and a tie-in to the soil stack. It’s very doable, but it lengthens the early stages. See moving bathroom plumbing for what’s involved.
Wet rooms & tanking
A fully tanked wet room needs more waterproofing time and a floor former set to a precise gradient, so the middle stages stretch. That’s the trade-off for a completely open, level-access finish.
Surprises at strip-out
Rot, damp or old pipework that’s quietly failed can add a day of remedial work. We’d always rather fix it now than build a lovely bathroom on top of a problem — and we’ll tell you straight away if we find one.
Large-format & stone tiling
Big-format porcelain and natural stone are slower and more skilled to lay, and stone needs sealing. Beautiful, but they add time to the tiling stage rather than cost you nothing.
Underfloor heating
Electric underfloor heating adds a layer under the tiles and a bit more first-fix wiring and testing. A small addition to the schedule for a big improvement in how the room feels underfoot.
Supply delays
The single most common cause of a stalled job is a part that hasn’t arrived. We order and check everything in before we lift a tool, precisely so the fitting week runs without gaps.
Whatever the specifics, the price is fixed in writing before we start, and the layout is the single biggest lever on both cost and time — keep the plumbing where it is and you save; move everything and you pay for the extra stages. For the full money picture, see the cost of a bathroom in Plymouth.
Common questions about the process
How long does the whole process take?
A typical full bathroom installation runs 7–10 working days across all the stages above. A like-for-like swap in a small room sits at the quicker end; a bigger room with a moved layout, premium tiling and curing time for waterproofing and adhesives runs to the longer end. We work to an agreed schedule and update you daily, so you always know which stage you’re on and when you’ll have your room back.
Can stages be skipped to save time or money?
Some can be rushed, but the ones that matter can’t — and shouldn’t. Waterproofing, sound boarding, proper curing time and certified electrics are exactly where cheap jobs cut corners, and exactly where bathrooms fail a year or two later. We keep the full sequence on every job. If you want to save money, the honest lever is the layout and the spec, not the hidden stages.
Do I need to be home during the installation?
Not for every day, though it helps to be reachable for the odd decision. We’ll agree access arrangements at survey. The bathroom being fitted is out of action while we’re in it, so if it’s your only WC we plan that with you up front. The rest of your home stays liveable — we protect the access route, contain dust and tidy up at the end of each day.
Proud of every bathroom we fit
See the whole process quoted for your room
Tell us about your bathroom and what you’d like to change. We’ll visit, check the floor, the pipework and your water pressure, walk you through the stages for your room, and give you one clear written quote — every step, one fixed price, finished properly.