
Wet rooms upstairs, done properly
Putting a wet room upstairs, on a suspended timber floor, is the job that makes people nervous — and we understand why. You’re turning a bedroom-level floor into a shower, above a ceiling you’d rather never see stained. So let’s say it plainly: yes, you can, and we do it regularly across Plymouth. Done properly — the joists surveyed, the floor built up correctly, a low-profile former engineered to the fall, and the whole zone tanked — an upstairs timber-floor wet room is every bit as dry and dependable as one on a concrete slab downstairs. This guide walks through exactly how it’s done, and why the worries most people have are the ones we design out first.
Why upstairs on a timber floor worries people
Almost everyone who asks us about an upstairs wet room has the same three worries at the back of their mind, and they’re all reasonable. A timber floor moves — it flexes underfoot in a way a solid concrete slab never does, and people quite rightly wonder whether a waterproof floor can cope with a bit of bounce. There’s the weight question, because tiling, screed and a former all add load a bedroom floor wasn’t originally carrying. And above all there’s the ceiling below: the fear that one day a slow leak shows up as a brown ring on the plaster of the room underneath, with no way to reach it without pulling the whole floor up.
These are exactly the right things to think about — and they’re exactly what a proper survey and build address before any tiles go down. A wet room fails upstairs for the same reasons it fails downstairs: shortcuts in the waterproofing, a floor that wasn’t stiffened where it needed to be, or a drain that was never bonded into the tank. None of those are caused by the floor being timber, or by the room being upstairs. They’re caused by the job being rushed. Get the structure and the tanking right and the location above a bedroom simply doesn’t matter.
It’s worth saying that upstairs is where a lot of wet rooms belong. Loft conversions, box-room en-suites off a main bedroom, and family bathrooms on the first floor are some of the most common places our customers want that level-access, open finish. If your project is an upstairs en-suite, it’s worth reading alongside our guide to en-suite and cloakroom fitting, because the two jobs often overlap. And if the wet room is part of a wider first-floor refit, our wet room installation hub covers the whole picture.
How we build an upstairs wet room, step by step
The difference between a timber-floor wet room that lasts twenty years and one that leaks into the ceiling is almost entirely in the preparation. Here is how we do it, in the order it happens on site, so you know what’s going on above your heads each day.
1. Survey the joists first
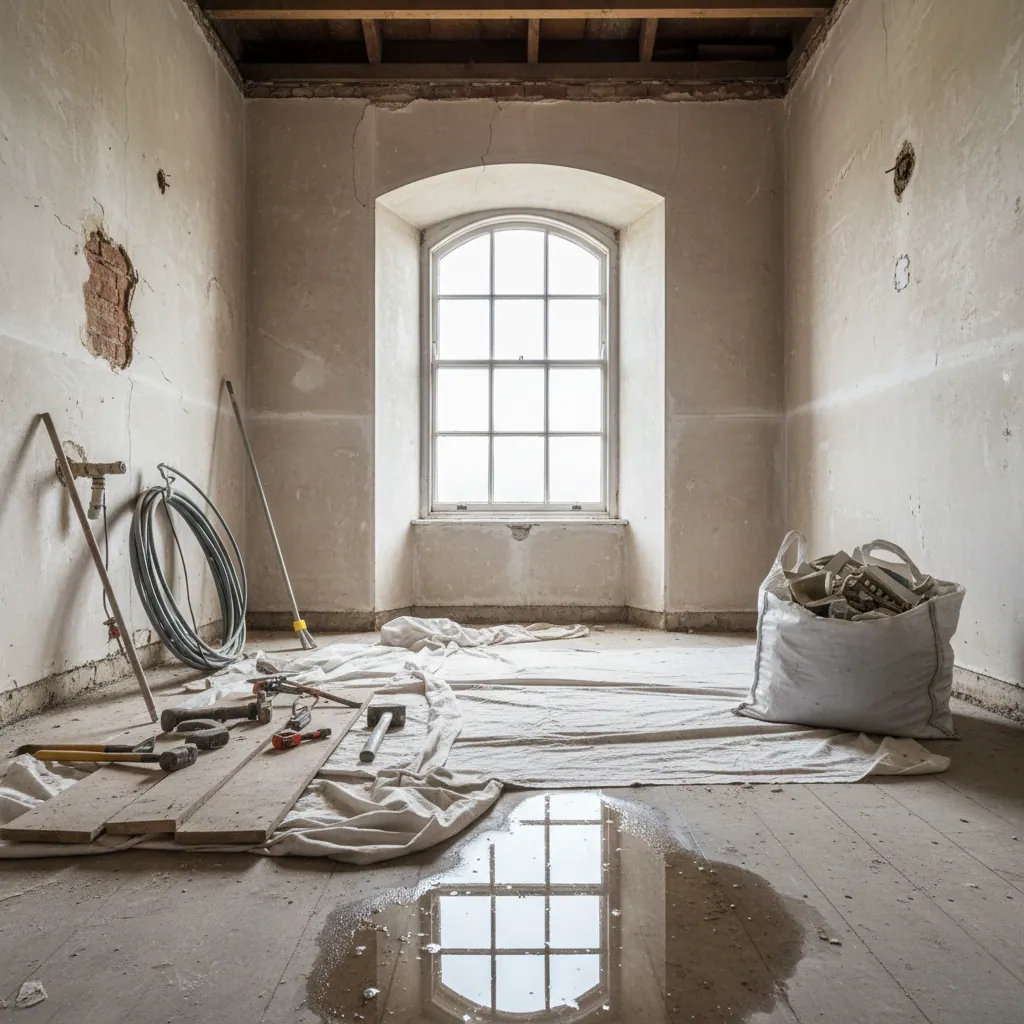
Before we quote, we lift a board and look at the floor structure — the joist size, the spacing, the span, and how much the floor deflects when you walk on it. This tells us whether the floor is stiff enough as it stands or whether it needs help. On older Plymouth homes the joists are often shallower and further apart than a modern floor, so this step matters more here than people expect. We also check the head height, because everything we add to the floor raises it, and a low ceiling upstairs can be the deciding factor.
2. Stiffen the floor where it needs it
A wet room floor has to be rigid, because a floor that flexes cracks grout and, over years, can work a waterproof membrane loose at the joints. Where the survey shows too much bounce, we reduce the deflection before we build anything on top. That can mean adding noggins between the joists to stop them twisting, doubling up or sistering a weak joist, or reducing the effective span. The aim is a floor that feels solid and dead underfoot — not springy — so the finished surface has nothing to move against. This is quiet, unglamorous work that you’ll never see once it’s covered, and it’s the single biggest reason our upstairs wet rooms behave themselves.
3. Deck the floor with the right boards
On top of a sound, stiffened joist structure we lay a proper wet-room-grade floor deck — the correct thickness of moisture-resistant board, screwed down at close centres so there’s no movement between the sheets. This gives the former and the tanking a flat, stable, continuous base to bond to. Ordinary chipboard flooring is not the right surface for a tanked wet floor, and swapping it for the correct board is part of doing the job once.
4. Set a low-profile pre-formed former
This is where an upstairs job differs most from a downstairs one. Rather than screed the whole floor to falls, we usually recess a rigid, factory-made shower former into the deck. The fall is engineered into the product, so the slope to the drain is consistent and — crucially — low-profile, which suits shallow joists and tight head height far better than a thick sand-and-cement screed. The former is chosen to sit within the joist depth wherever possible, keeping the finished floor as close to the original level as the room allows. If you want to understand the options here in more detail, our guide to the wet room floor former and gradient goes deeper.
5. Route the waste between the joists
The drain has to fall away to your soil stack, and upstairs that means running the waste pipe within the depth of the floor — between the joists, or notched carefully through them where the structure allows and only where it’s safe to do so. Getting the drain outlet, the trap and the pipe run to sit inside the floor build-up, at the right fall, is one of the fiddliest parts of an upstairs wet room and one of the most important. It’s planned at survey, not improvised on the day.
6. Tank the whole zone
With the former set and the waste run in, the entire wet area is waterproofed — the floor and the lower walls — with a continuous tanking system, reinforcing tape bedded into every corner and change of plane, and the drain flange bonded into the membrane. Upstairs, we’re generous with how far the tank is carried, because the whole point is that even if water ever gets past the tiles, it has nowhere to go but back to the drain. The tiles shed the water; the tank is what actually keeps the ceiling below dry. You can read more about this on our wet room tanking and waterproofing page.
7. Protect the ceiling below and water-test
Before a single tile goes down on a bigger job, we can flood-test or water-test the tanked floor to confirm it holds — far better to find a problem now than after tiling. We also make sure the ceiling void below is left in good order and, where access allows, insulated or boarded so the room underneath stays warm and quiet. Only once we’re satisfied the tank is sound do we tile, grout with a flexible wet-rated grout, and fit out. The finished floor is checked under running water so you can see it drains cleanly with no pooling before you ever use it.
The drain detail deserves its own mention, because upstairs the choice between a linear channel and a central point drain also affects how the waste sits in the floor. Our guide to linear versus point drainage explains the trade-offs.
Considerations for older Plymouth homes
Plymouth has a lot of solid, characterful housing — Victorian and Edwardian terraces in Peverell and Mannamead, post-war semis in Crownhill and Derriford, older stock across Plymstock, Devonport and St Budeaux. These homes make wonderful bathrooms, but their upstairs floors were built to different standards, and a good wet room installer plans around that rather than pretending it isn’t there.
Springy or bouncy floors
If your landing or bedroom floor has a noticeable spring to it, that’s a sign the joists are working hard already. It doesn’t rule out a wet room — it just means the stiffening work in step two becomes essential rather than optional. We’d far rather add the noggins and sister a joist than lay a beautiful floor onto one that moves.
Head height and door lines
Every millimetre we add to the floor is a millimetre off the ceiling and a change to how the door swings and where it clears. In loft rooms and older homes with lower ceilings this is often the real constraint, which is exactly why the low-profile former earns its place upstairs.
Old waste runs and soil stacks
The existing pipework in an older home is rarely where you’d ideally put a new drain. We plan the route to the stack at survey, and we’re honest if achieving true level access means a little extra work to drop or re-route the waste within the floor.
The room below matters too
What sits under the wet room — a kitchen, a living room, a hallway — shapes how we protect the ceiling void and how we’d reach the pipework if it ever needed attention. We think about the downstairs room as part of the upstairs job.
What it costs
An upstairs timber-floor wet room falls in the same overall Plymouth range as any wet room — roughly £5,545 to £10,810, with most jobs around £7,775, fitted in four to seven working days. The structural preparation, the low-profile former and the waste routing can add a little to a straightforward downstairs conversion, but it’s rarely the big-ticket item people fear — the tiling choice and the fittings usually move the number more than the floor does. For the full breakdown of what shapes a bathroom budget locally, see our guide to bathroom costs in Plymouth. If the wet room is one part of a whole-floor refurbishment, our full bathroom installation page covers how it all comes together.
Upstairs wet room FAQs
Can you really put a wet room upstairs on a timber floor?
Yes — it’s one of the most common wet rooms we build in Plymouth. The floor is surveyed and stiffened where needed, a low-profile pre-formed former sets the fall, the waste is routed within the floor, and the whole zone is tanked. Done in that order, an upstairs timber-floor wet room is just as dry and durable as one on a ground-floor slab.
Will an upstairs wet room leak into the ceiling below?
Not if it’s built properly. Leaks come from poor waterproofing, not from the floor being upstairs or timber. We fit a continuous tanking membrane carried up the walls and bonded into the drain, reinforce every corner, and water-test the floor before tiling — so even if water ever gets past the tiles, it runs back to the drain rather than into the ceiling.
Does a timber floor need reinforcing for a wet room?
Sometimes. A wet room floor must be rigid so grout and waterproofing don’t crack, so if the survey shows too much bounce we stiffen it first — adding noggins, sistering or doubling joists, or reducing the span. A floor that already feels solid may need little or nothing. We only do what the structure actually requires, and we tell you at survey.
Will an upstairs wet room raise the floor level a lot?
Less than you’d think. Because we use a low-profile pre-formed former rather than a thick screed, the build-up is kept as shallow as the room allows, and we aim to sit the former within the joist depth where possible. We check head height and door clearances at survey so there are no surprises with the finished level.
How is the waste pipe run upstairs?
The drain falls away to your soil stack through the depth of the floor — routed between the joists, or notched safely through them where the structure allows — all set at the correct gradient so it clears cleanly. We plan the route to the stack at the survey, which is why the drain position is agreed before we start rather than worked out on the day.
Are old Plymouth houses suitable for an upstairs wet room?
Usually, yes — we fit them in Victorian terraces, post-war semis and loft conversions across Plymouth. Older floors just need a proper survey, because shallower joists and springier floors call for a bit more stiffening. Head height and existing pipework are the usual constraints, and both are things we assess and design around before quoting.
Proud of every bathroom we fit
Thinking about a wet room upstairs?
Tell us about the room and where it sits in the house. We’ll come and check the joists, the head height and the waste route, tell you honestly what the floor needs, and give you one clear written quote — fully tanked, expertly built, no risk to the ceiling below. See more on our Plymouth wet room installation page.