Getting the walls right, before the tiles
It’s the least glamorous stage of a bathroom renovation and one of the most important. Whatever finish goes on your walls — tiles or paint — is only ever as good as what’s underneath. Blown plaster, an uneven surface or damp behind the tiles will telegraph through and cause problems for years. This guide explains when bathroom walls need replastering or boarding, the difference between the two, and how we get a sound, flat, waterproof base that makes everything on top of it last.
Why the wall base matters so much
A bathroom wall does a harder job than any other in the house. It faces heat, steam and splashing day in, day out, and it has to hold tiles or paint firmly through all of it. If the surface behind that finish is weak, uneven or damp, the finish fails — grout cracks, tiles work loose, paint blisters, and mould creeps in at the edges. Nearly every “the tiler did a bad job” complaint we’re called to actually traces back to what was, or wasn’t, done to the wall underneath.
Getting the base right does two things. First, it gives the finish something flat and solid to grip, so tiles sit true and grout lines stay crisp for years. Second, in the wet zones — around the bath, in the shower, behind the basin — it forms part of the waterproofing that keeps moisture out of the wall itself. Skip or skimp on this stage and you’re building a beautiful finish on an unreliable foundation. That’s why, on any Plymouth renovation, we treat the walls as seriously as the tiling that will cover them.
It helps to think of a bathroom wall as three layers, each depending on the one behind it. Deepest is the structure — the brick, block or timber stud that holds everything up. Over that sits the base coat: the plaster or board that makes the surface flat, sound and, in wet areas, waterproof. Only on top of that goes the finish you actually see — the tiles or paint. Homeowners naturally focus on the top layer, because it’s the bit they chose and will look at every day, but the two hidden layers decide whether it survives. A stunning tile fixed to a poor base is a short-lived thing; a modest tile on a properly prepared, waterproofed wall will look sharp for many years. Getting the middle layer right is unglamorous, invisible work — and it’s precisely the work that separates a bathroom that lasts from one that doesn’t.
When walls need replastering or boarding
Not every wall needs stripping back — sometimes a sound existing surface just needs preparing. But several common situations mean the wall must be put right first, and a good fitter spots them at strip-out.
Blown or crumbling plaster
If the plaster sounds hollow when tapped, is cracked, or comes away with the old tiles, it can’t hold a new finish. It needs hacking off and re-plastering, or replacing with board, before anything goes back on.
Uneven or out-of-true walls
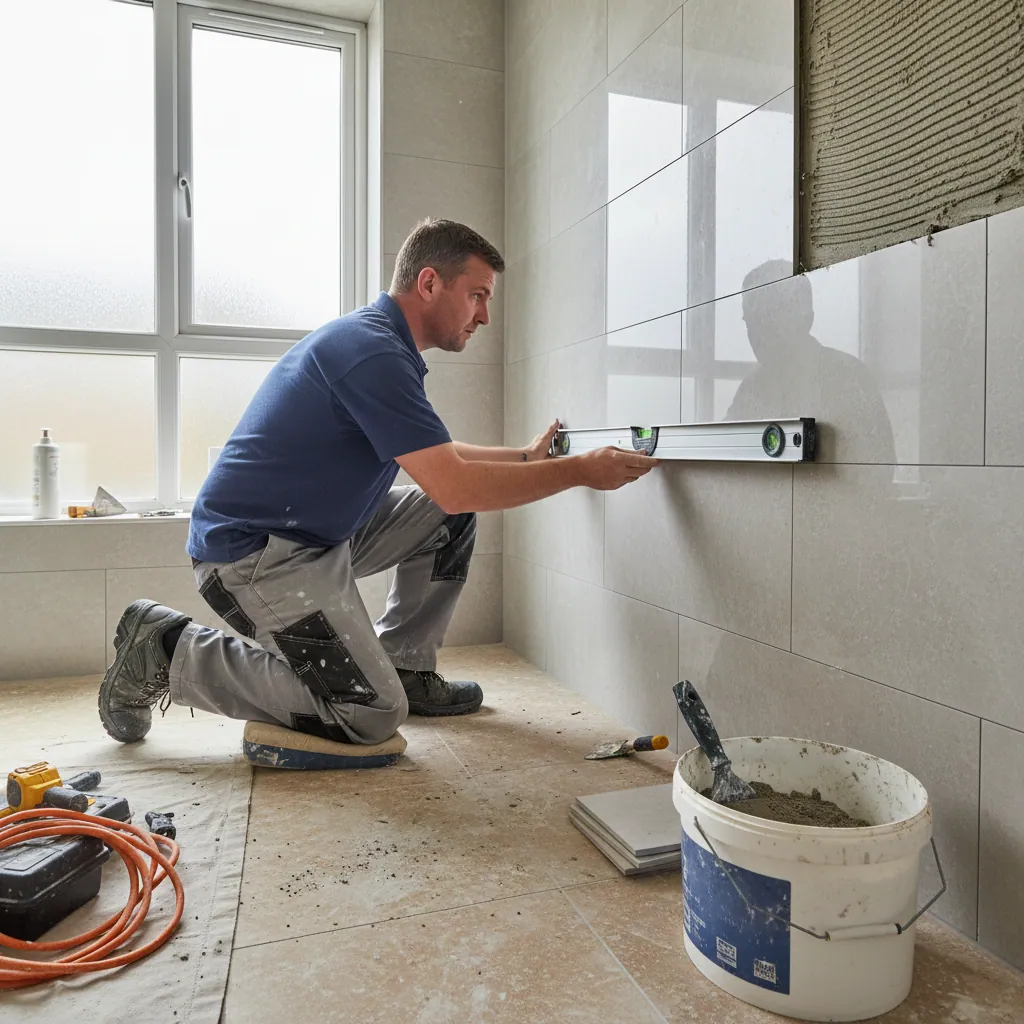
Older Plymouth homes rarely have flat, plumb walls. Large-format tiles in particular need a level base, so an uneven wall gets skimmed or boarded true first — otherwise the tiling shows every dip.
Damp or water-damaged walls
Where a leak or years of splashing have got into the wall, the damaged material must come out and the cause be fixed — our fixing leaks and water damage guide covers this — before a fresh, waterproofed surface goes on.
You’ll also need to make good after any first-fix work: once pipes and cables have been chased into the walls, those chases are filled and the surface brought back flat. And when a layout changes — a doorway blocked up, a wall patched where an old fitting sat — those areas need plastering to blend seamlessly into the rest.
Plaster or board? How we decide
There are two routes to a sound wall, and the right one depends on the wall and where it is in the room. Often we use both in a single bathroom.
- Re-skimming existing plaster. Where the plaster is sound but tired, a fresh skim coat gives a smooth, flat surface for paint or tiles. Quick, tidy and ideal for dry areas away from direct water.
- Hacking off and re-plastering. Where plaster has blown or is damaged, it comes off back to the brick or block and is re-plastered from scratch — the honest fix, not a cover-up.
- Over-boarding with plasterboard. Fixing new board over an uneven wall gives a fast, flat base without the mess of wet plastering, and can be skimmed or tiled directly.
- Moisture-resistant or backer board in wet zones. In showers and around baths we use tile backer or moisture-resistant board designed to handle water, forming part of the waterproofing — see our boarding and waterproofing guide.
- Tanking the wet areas. Over the board, a waterproof tanking membrane seals the shower and splash zones before a single tile is fixed.
- Prepping and priming. Whichever base is used, it’s primed so tiles or paint bond properly and last.
Getting it right: drying, timing and finish
Replastering isn’t just about applying material — it’s about giving it the conditions to perform. Rushed or badly prepared plaster is a false economy that shows through the finish within months.
Let it dry properly
Fresh plaster needs time to dry and cure before it’s tiled or painted. Tiling onto plaster that’s still damp, or painting before it’s cured, traps moisture and leads to failures down the line. In a bathroom, with steam and humidity in play, that patience matters even more. We build the drying time into the schedule rather than racing to the next stage — it’s one of the quiet differences between a job that lasts and one that doesn’t.
Flat, sound and sealed
- A level surface, so tiles sit true and grout lines stay even.
- A sound, well-keyed base that grips the finish for years.
- Moisture-resistant board and tanking in every wet zone.
- Chases and patches made good so nothing shows through.
- The right primer for whatever finish goes on top.
Signs your bathroom walls need attention
You won’t always know a wall is failing until the old tiles come off, but plenty of bathrooms give the game away beforehand. If you’re planning a renovation, these are the tell-tales that the walls, not just the finish, will need work — and it’s better to expect it than to be surprised by it.
What to look and listen for
- Tiles that sound hollow when tapped, or grout that cracks and falls out.
- Tiles that have come loose or moved, especially near the bath or shower.
- Bulging, bowing or a wall that’s visibly out of true.
- Damp patches, staining, a musty smell or paint that blisters and peels.
- Soft or crumbling plaster that gives when pressed.
What they usually mean
Hollow-sounding tiles and cracking grout point to a base that has failed behind the finish — often blown plaster or movement. Loose tiles by the wet areas frequently mean water has got in and the wall behind is damaged. Bulging or damp usually means moisture has been at work for a while. None of it is a disaster, but all of it means the honest fix is to put the wall right rather than tile over the top and hope. Covering a failing wall simply buys a year or two before the same problem returns — usually taking your new tiles with it.
Don’t forget the ceiling and the making-good
Walls get all the attention, but a bathroom renovation is only as tidy as its ceiling and its edges. Bathroom ceilings take a surprising amount of punishment from steam and heat, and they’re often left tired when the walls below have been reworked — a fresh ceiling is a small job that lifts the whole room and one worth doing while the access is there. Where there’s been a leak from above, or old flaking paint and stained plaster, the ceiling may need scraping back, patching or re-skimming before it’s painted with a proper moisture-tolerant finish.
Just as important is the making-good that ties everything together — the neat filling and finishing around new pipe boxings, the junction where tiling meets painted wall, the reveals around a window, and the edges where a new suite meets the floor. It’s the least visible work and the first thing the eye picks up if it’s done badly. A clean, sharp transition between materials is one of the quiet marks of a proper job, and it’s exactly the detail that separates a bathroom that looks professionally finished from one that looks merely assembled. We treat the ceiling and the making-good as part of the finish, not an afterthought, because a beautifully tiled wall lets itself down if the edges around it are rough.
How it fits into the renovation and what it costs
Replastering and boarding sit in the middle of the renovation sequence — after strip-out and first-fix plumbing and electrics, and before tiling and the second fix. Getting this stage right is what lets everything after it go smoothly, which is why our bathroom renovation timeline gives it proper space rather than squeezing it. Rushing the walls to save a day nearly always costs more later.
As a cost, wall preparation is usually a modest part of the overall budget, but it’s not one to cut. A full bathroom renovation in Plymouth runs roughly £4,075 to £10,870, averaging near £6,340, with plastering, boarding and waterproofing folded into that figure; local fitting costs run about 9% below the UK average. Our cost of a bathroom in Plymouth page sets out where the money goes. The honest advice is simple: this is the stage to do properly, because everything you’ll actually see and touch depends on it. Spend a little more getting the walls right and the finish rewards you for years; skimp here and you’ll be paying to put it right long before you’d hoped.
Frequently asked questions
Do bathroom walls always need replastering before tiling?
No — if the existing surface is sound, flat and dry, it may just need cleaning and priming. Replastering or boarding is needed when the plaster has blown, the wall is uneven, there’s damp damage, or chases from new pipework and cables need making good. A fitter can tell you which applies once the old tiles are off.
Can you tile straight onto plasterboard in a bathroom?
In dry areas, standard plasterboard can be tiled once primed. But in wet zones — the shower and around the bath — we use moisture-resistant or tile backer board and a tanking membrane, because ordinary plasterboard isn’t designed to cope with constant water. Getting the right board in the right place is part of proper waterproofing.
How long does new plaster need to dry before tiling?
It depends on the plaster, the thickness and the conditions, but fresh plaster generally needs several days to dry and cure before tiling, and longer before painting. In a humid bathroom that patience matters — tiling or painting too soon traps moisture and causes failures. We build the drying time into the schedule.
What’s the difference between plastering and boarding?
Plastering applies a wet skim or float-and-set coat to give a smooth finish; boarding fixes sheets of plasterboard or backer board to create a flat, sound base quickly and with less mess. Boarding is often quicker and ideal over uneven walls, while a skim gives the smoothest finish for paint. We frequently use both in one bathroom.
Why is my grout cracking or my tiles coming loose?
Almost always because of the wall or floor behind them — a base that flexes, was damp, or wasn’t sound. Tiles and grout are rigid and unforgiving; if what’s underneath moves or was never properly prepared, they crack and let go. The lasting fix is to put the base right, not just re-grout.
Do you handle plastering as part of a renovation?
Yes — plastering, boarding, tanking and making good are all part of the renovations we carry out, sequenced properly within the job. One team and one point of contact handles the walls, the waterproofing and the tiling, so there’s no gap between trades where problems creep in.
Proud of every bathroom we fit
A finish that lasts starts with the walls
We get the unseen stage right — sound, flat, waterproof walls — so the tiling and finish you’ll actually live with last for years. Tell us about your bathroom and we’ll hand you one clear written quote. No surprises, no pressure.